
Kombucha—you either love it or hate it. If you’re in the ‘hate’ camp, perhaps you just haven’t had the right flavor yet (pssst, not all kombucha tastes like vinegar with a loogie in it). We’re here with some brewing basics and tips on how to flavor kombucha.
Because while the health benefits of booch are just as plentiful as the bubbles in your final brew, the environmental ones make us feel pretty bubbly, too (SCOBY scraps being used to save the planet in the form of a newfangled sustainable fabric, anyone?).
But we’re talking about food, not fashion, here. When we brew kombucha, we help our planet thrive. Improving your DIY kombucha’s flavor can tackle a massive environmental issue—food waste (not to mention a reduction in the number of glass bottles you bring home from store-bought kombucha). How’s that for proactive probiotics?
Fermenting is a great tool to have in any food preservation tool belt, which is why we’re thrilled to share some of our favorite kitchen scrap kombucha recipes.
Contents: Tips For Flavoring Kombucha
- What Is Kombucha? Jump to section
- Kombucha Brewing Basics Jump to section
- Types Of Tea For Flavoring Kombucha Jump to section
- Kitchen Scrap Kombucha Jump to section
- Get Goofy With Your Boochy Jump to section
- What To Do If Your 'Booch Goes Bad Jump to section
What Is Kombucha?

In case you didn’t already know and just thought kombucha came from those fun-shaped bottles and cans in the grocery store, it’s no special patented thing. Kombucha is a fermented tea has been quenching thirsts for thousands of years. With origins in either China or Japan, this so-called “mushroom tea” produces a fungi-like film that looks otherworldly.
This SCOBY (short for Symbiotic Culture Of Bacteria and Yeast) is home to tons of beneficial probiotics like lactic-acid bacteria—which can support healthy digestion and a strong immune system.
That vinegary taste is thanks to acetic acid, which is also produced when making vinegar. Acetic acid has been shown to destroy harmful microorganisms, providing an antibacterial edge to kombucha that may be good at fighting infection-causing bacteria, like those from Candida yeasts.
It’s also a source of antioxidants (especially when made from red or green tea) and has been shown to lower both cholesterol and blood glucose levels, making it a great choice for diabetics, especially since it fills the carbonated niche of soda.
Kombucha Brewing Basics

First things first, how the heck do you brew kombucha?
It’s actually a pretty simple process, with minimal steps on your part spaced out over a few weeks. We’ve been homebrewing our own for almost five years now.
The kombucha brewing process entails two stages: the first and second fermentations. The first fermentation is the important one, as that’s when you’ll grow most of the probiotic goodness.
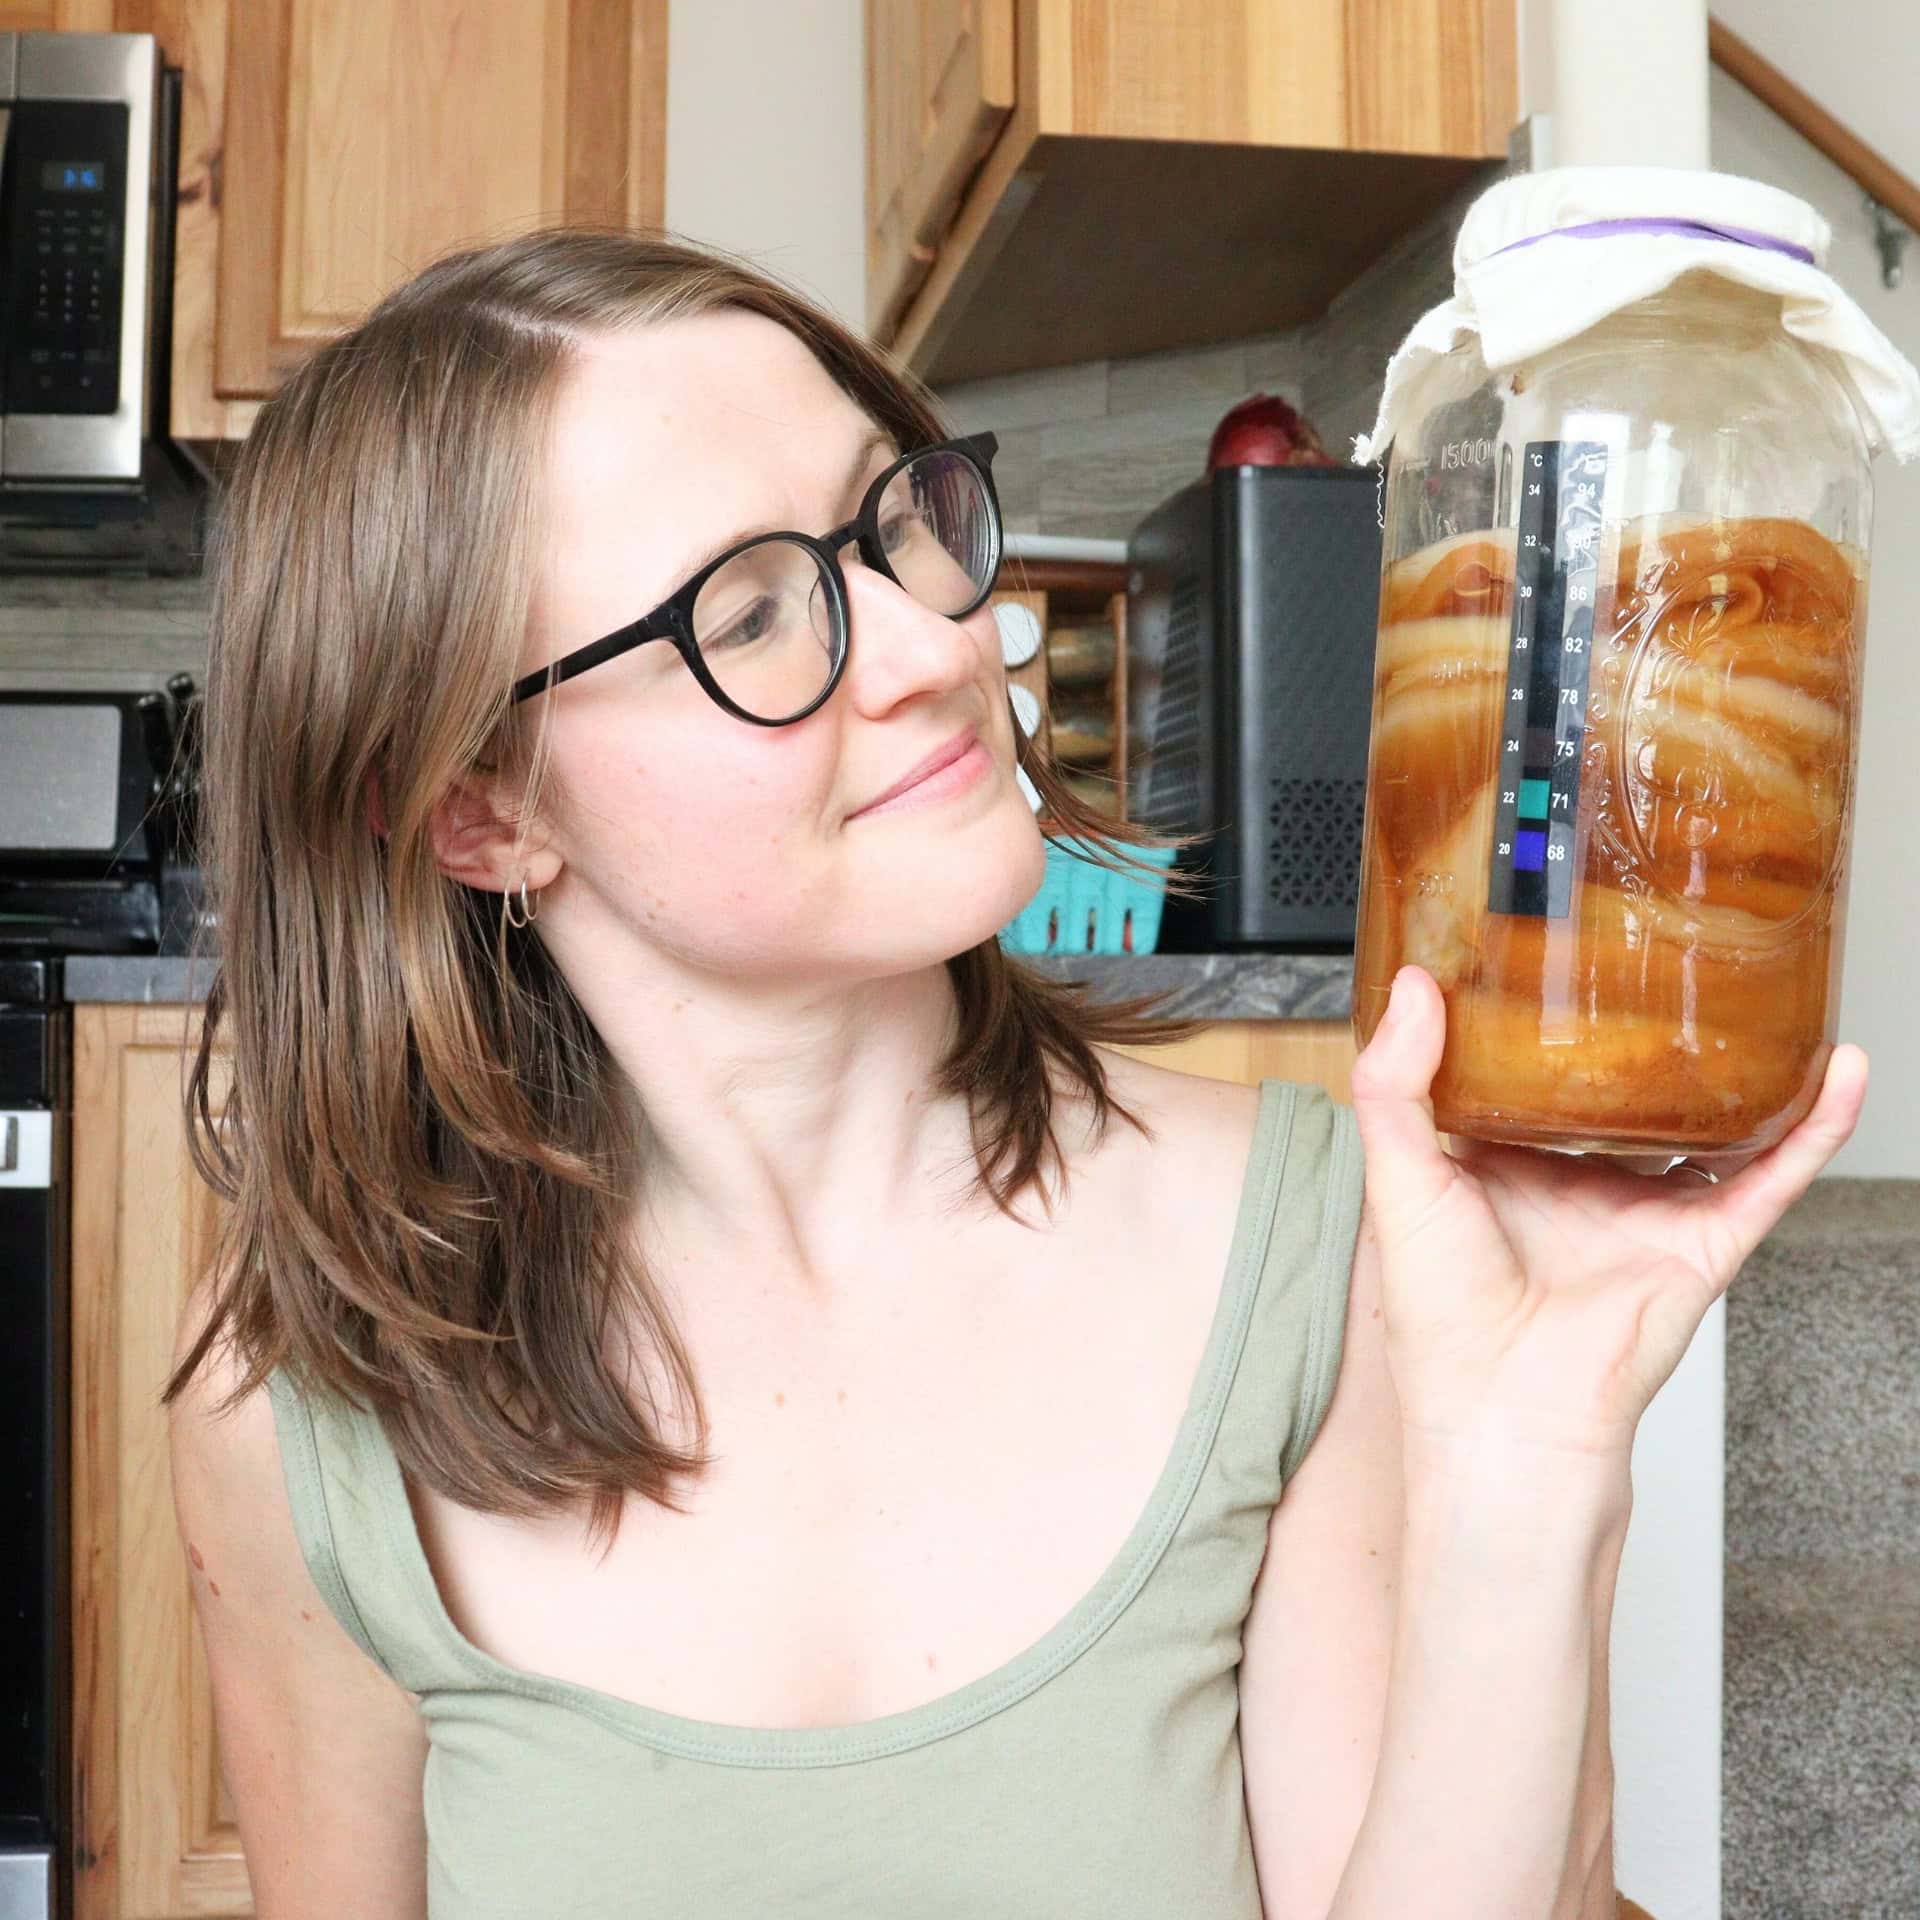
You’ll need four major ingredients to get started: tea, white sugar, starter kombucha (store-bought is fine if it’s your first brew), and a SCOBY. Contrary to popular belief, the gellatinous, mushy mass isn’t actualyl the SCOBY. That’s the pellicle, a hyproduct of the fermentation process that forming surface of your batch by the end. While there is bacteria in the SCOBY, most of it is in the liquid. That said, it never hurts to pop a pellicle in your new batch, either, and we actually do this every time.
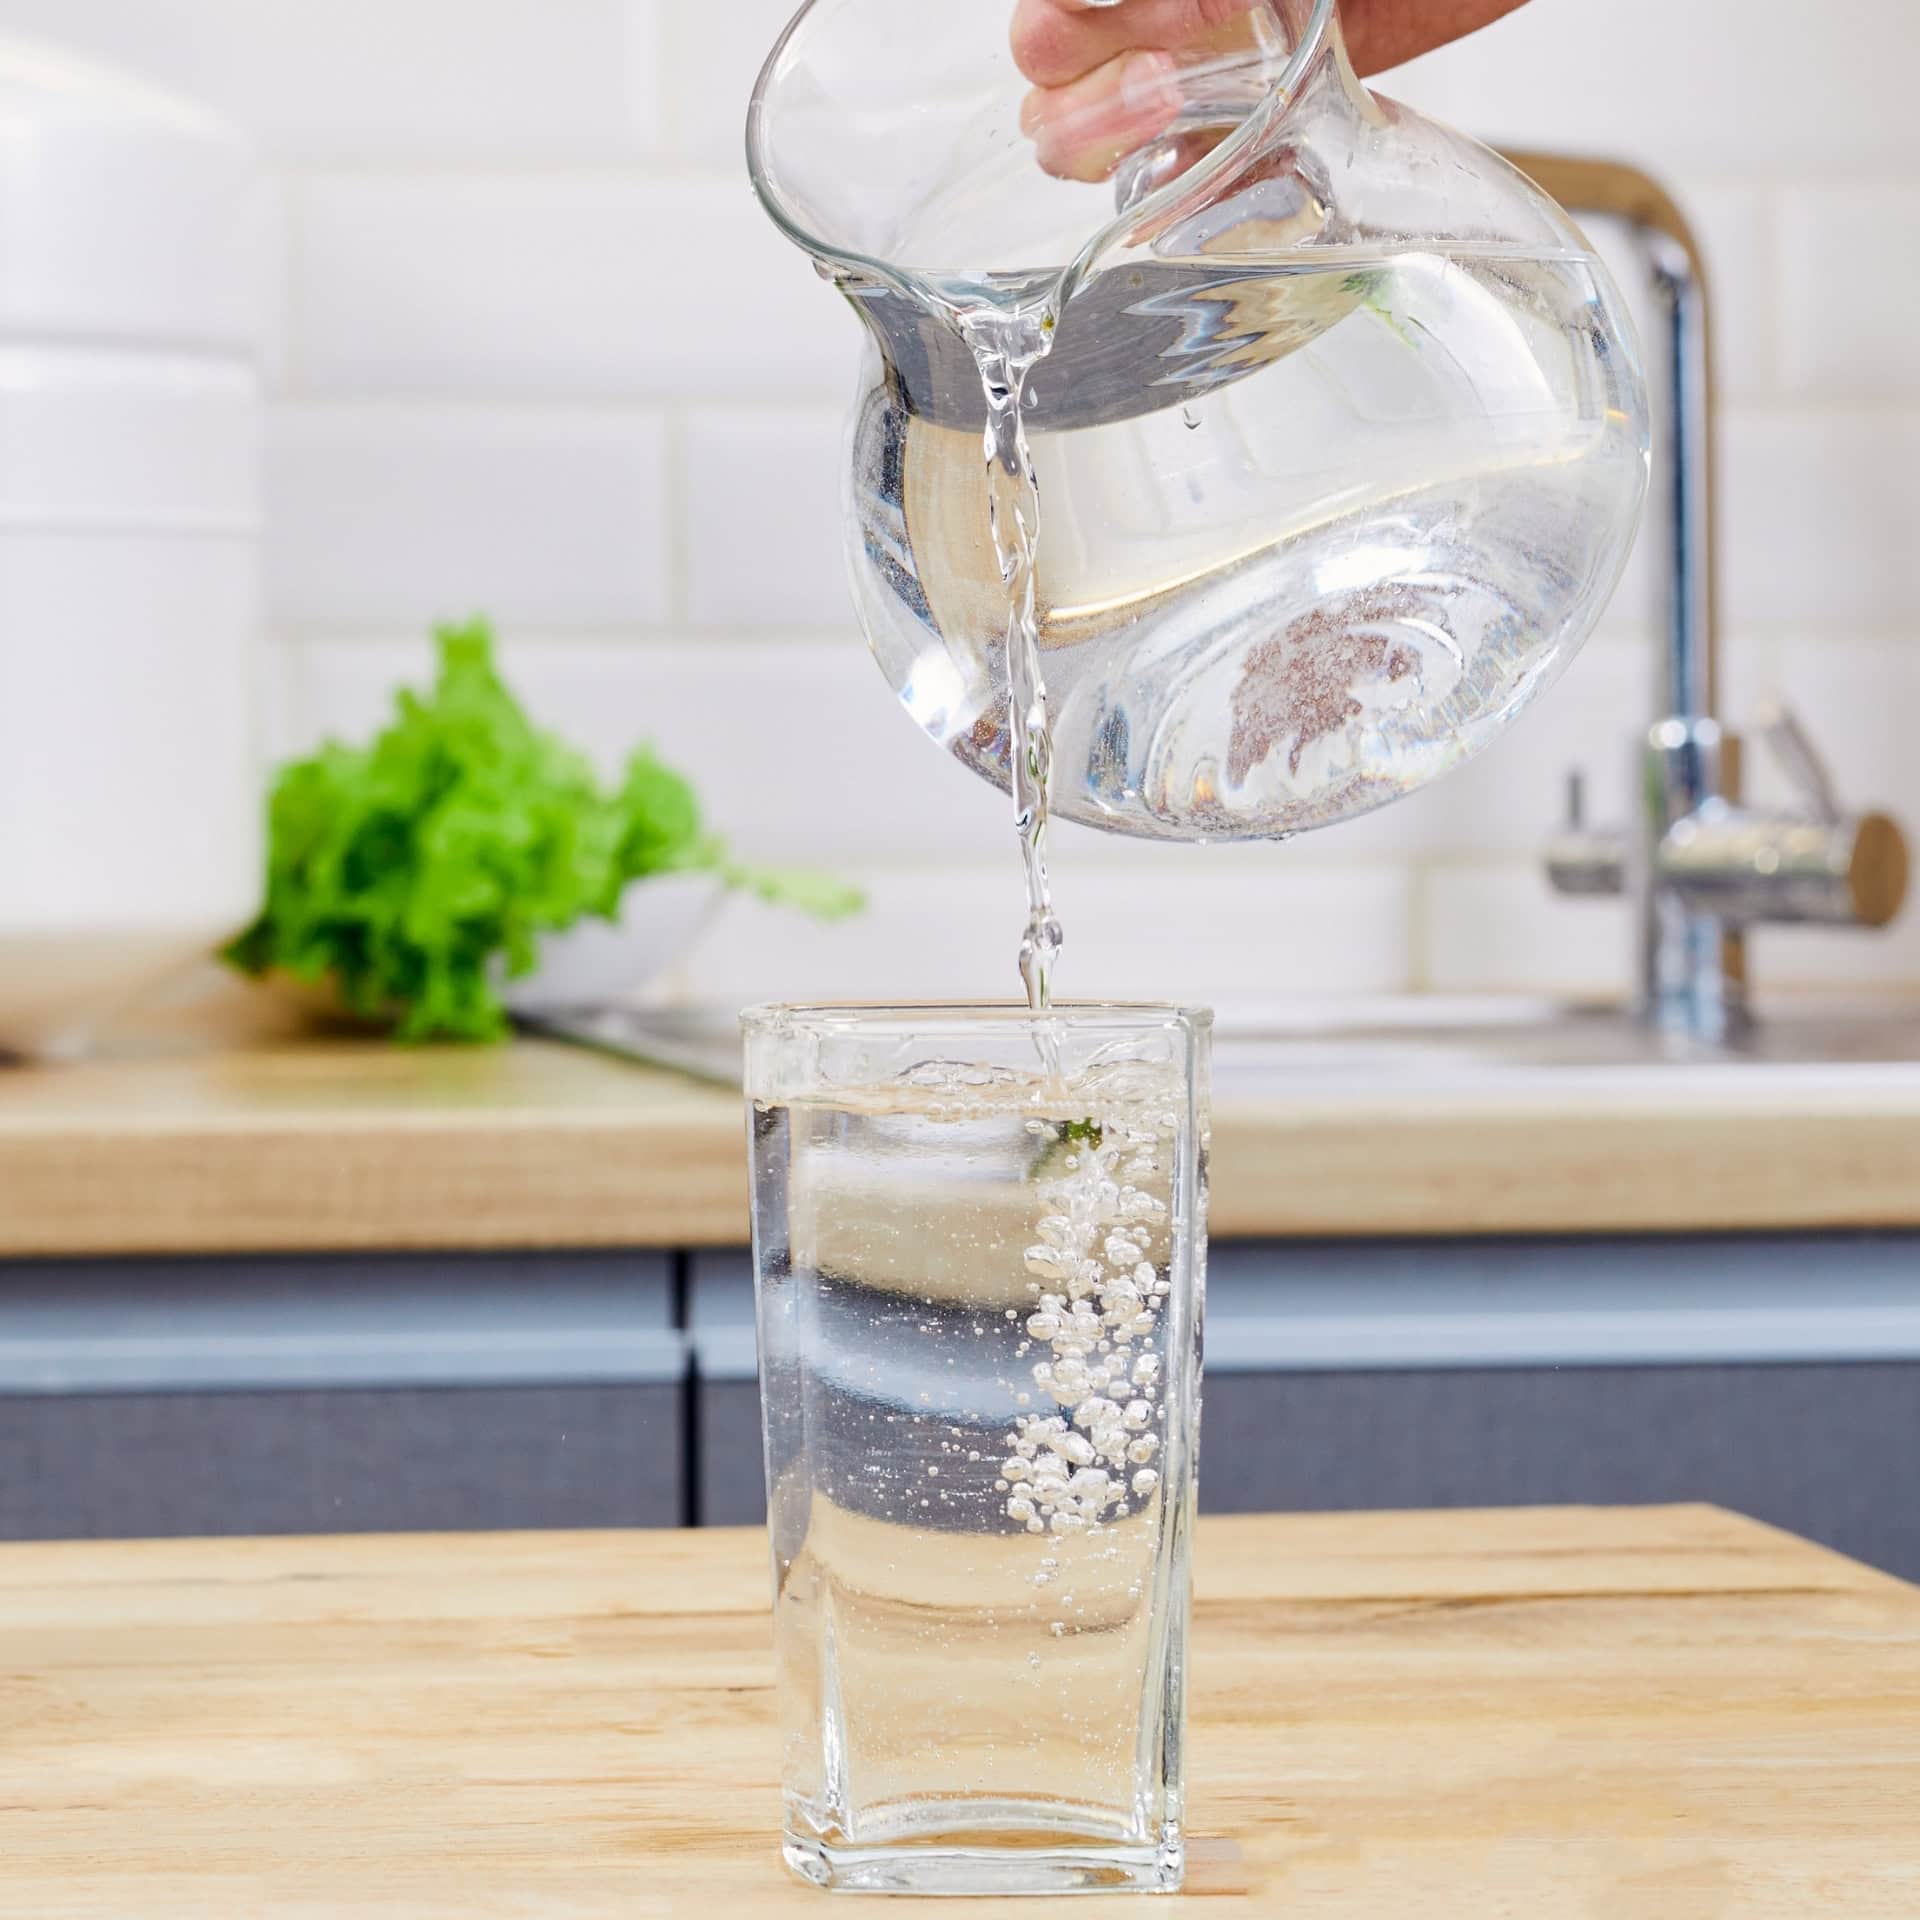
- Brew your tea and mix in your sugar (1 cup per gallon of tea).
- Allow the tea to cool to room temperature before adding your SCOBY and starter liquid (about a 1:10 ratio of SCOBY starter to tea is adequate). If the tea is too hot, it could instantly kill your SCOBY.
- Then, just cover the jar with a cloth (something a little thicker than cheesecloth to prevent any debris and dust from getting in and contaminating the batch) and wait. Just be sure to keep the jar in a warm place (about 60-80°F) and out of direct sunlight.
The magic takes anywhere from 10 days to a month, just depending on where your taste falls on the vinegary-to-sweet scale. The longer it ferments, the more vinegary it will be because the bacteria eats more and more of the sugar. Just do a taste test every couple of days until it’s reached your ideal level of sweetness or lack thereof.
Temperature also affects the brewing time. The hotter it is, the faster it will ferment. In the summer, we find one week is an optimal length of time for the first ferment to get a good not-too-sweet, not-too-vinegary balance. In the winter, however, when our house is naturally about 20 degrees colder, we usually have to let it sit 2-3 weeks.
The second fermentation is where the fun begins. In other words, this is where you get to flavor your kombucha!
- Remove your SCOBY from the brew and strain out any little chunks and strings it leaves behind. You can either do the second fermentation in the same bottle if you want to do a big batch of the same flavor or separate it into your drinking bottles (recycled kombucha bottles from the store work just fine) to experiment with several flavors at once.
- Fill the jars or bottles about ¾ full of kombucha and leave the rest of the space for your flavoring. This can be fruit, vegetables, spices, whatever! We’ll get more into suggestions in the rest of the article.
- Blend, juice, or puree your chosen additives and place them in the bottle. Chunks can certainly be used, but the flavor infuses much better when it’s in a blended/pureed form. Keep in mind that the carbonation that comes from the second fermentation requires some residual sugar. If you don’t add fruit you might want to supplement with more sugar or raw honey to continue feeding the yeast.
- Seal the cap tightly and leave at room temperature for three to five days. The exact time is a bit of guesswork, but essentially, more sugar = more carbonation = less fermentation time. If you know you went light on the sugar, let it sit for a little longer.
Next, we’ll get into ideas for how to go about choosing those flavors!
Types Of Tea For Flavoring Kombucha

It all starts with tea. Kombucha is a fermented tea, which means your starting tea choice is super important to the final product.
While it’s traditionally green or black tea used in kombucha, the requirements are relatively simple: caffeine, nitrogen, and theanine (although some have found success with decaf herbal teas, but it’s much harder).
In other words, there are several different types of teas that could work, including oolong, white, or red (rooibos)—or a combo. If you’re an experienced kombucha brewer looking to spice things up, try one of these. However, if you’re new to brewing, we recommend sticking to black tea until you get a feel for the basics and timing of it all.
Different teas ferment differently and require different tea to sugar ratios. There’s no one-tea-fits-all recipe when it comes to kombucha. Remember, kombucha brewing is largely about experimentation to find what works for you, and your base tea is no exception.
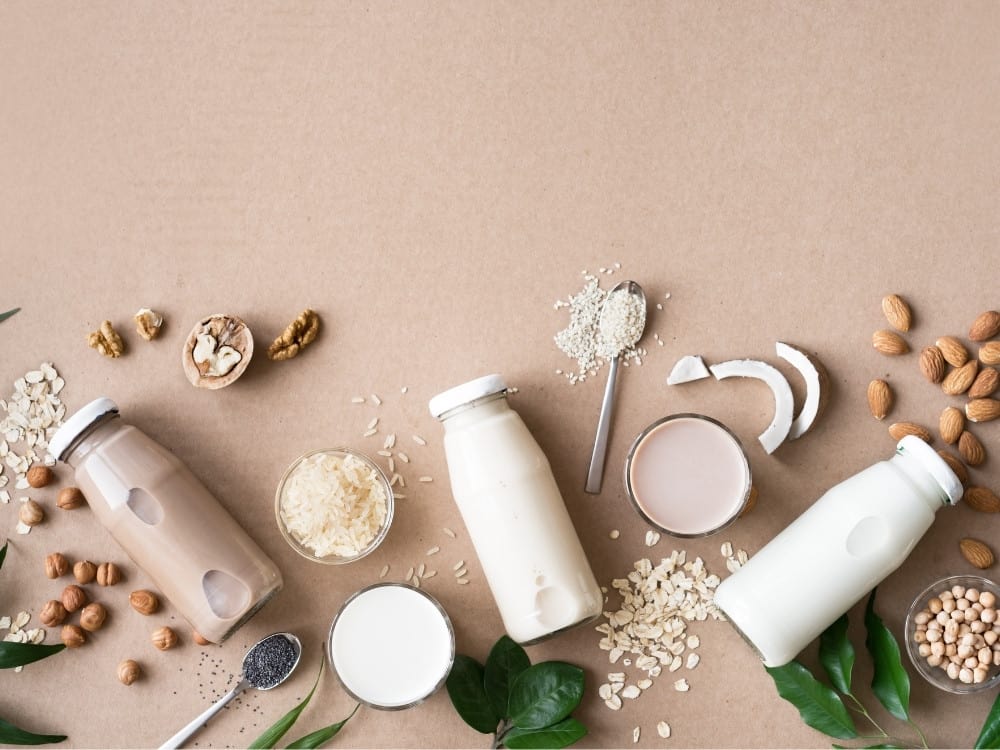
However, that’s only for the first fermentation. You can use even more types of tea (like yerba mate, herbal, and heck, even coffee!) to simply flavor your booch during its second fermentation.
Kitchen Scrap Kombucha

Kombucha can be flavored with nearly anything—apple, kiwi, ginger, pomegranate, carrot, and kale just to name a meager few.
The best part is that you don’t even necessarily need the whole fruit or vegetable to flavor your kombucha. In some cases, scraps will do just fine. Same with soggy bits of produce not stores properly that you wouldn’t otherwise eat not (so long as there’s no mold).
In fact, when you toss some fruit peels into a bottle of fermenting kombucha, it absorbs all of the phytonutrients and flavonoids, transforming them into something that’s more bioavailable (i.e. easier for your body to absorb the full nutritional benefits of).
While you probably wouldn’t want to toss onion peels and potato skins in your batch, most fruit (and some vegetable) scraps can become kombucha instead of going to the compost bin.
Here are a few easy ideas for how to flavor kombucha with fruit scraps:
Apple Peel Kombucha
Apple scraps can be added with fresh apple pieces and cinnamon or chai spice to make an apple pie kombucha.
Alternatively, apple scraps, water, and a sugar source (honey or sugar) can be added to kombucha and fermented for a month into something more akin to apple cider vinegar than kombucha
Citrus Peel Kombucha
Citrus peels (grapefruit, oranges, lemons, lime) can be added during the fermentation phase, too. Combine the peels with something a little sweeter (like fresh juice) for great flavor.
The citrus peel will help boost carbonation, too (in our experience, a LOT, so be careful you don’t forget it’s fermenting and burp it once a day to remove gas build-up). Even citrus juice you’ll find will carbonate more than many other types of fruit.
Do note that using the peel exclusively will provide a much more intense flavor. If it’s too intense, you can continue the fermentation process and use your citrus kombucha vinegar as an excellent DIY multi-purpose zero waste cleaner.
Seasonal Kombucha Flavoring
If you’re ready to move on from the traditional how to flavor kombucha with lemon and ginger considerations, make use of some of Mother Earth’s seasonal gifts.
Aside from using food scraps, this is another way to be a little more sustainable in your brewing choices (and allows you to better support local farmers!). Now you can plan your trips to the farmer’s market around which seasonal kombucha flavor you’re keen to experiment with.
Here’s what’s generally in season at various times of the year:
- Spring: Apricots, carrots, some citrus, ginger, mangoes, rhubarb, strawberries, blueberries
- Summer: Berries, carrots, cherries, cucumber, figs, ginger, melon, kiwi, nectarines, peaches, plums, watermelon
- Autumn: Apples, beets, carrots cranberries, grapes, ginger, passionfruit, pear, pumpkin
- Winter: Apples, persimmon, citrus, kiwi, ginger, pear, passionfruit
Get Goofy With Your Boochy

If you ever run out of flavoring ideas, get creative! Experimentation with kombucha is not only a great way to use things lurking in your cupboards, but a great way to have fun that may surprise you (for better or worse).
Try a banana peel and nettle kombucha, which a 2016 study demonstrated an even better antioxidant and antibacterial profile. Or combine orange peel, dandelion flowers, fennel tops, and mint. You’ll not only get the giestive benefits of probiotics but additional liver detox benefits of dandelions. You can experiment with adding in some of these other ingredients, too:
- Herbs: Mint, basil, lavender, chamomile, rosemary, elderberries, lemongrass, rosehip, hibiscus flowers, rose petals
- Spices: Turmeric (anti-inflammatory and antiviral benefits anyone?), chili, cayenne, cinnamon, cardamom, nutmeg, clove, vanilla, black pepper
- Other: Acai powder, spirulina, chia seeds, coconut, cacao
Just take a look at what you have lying around and make sure there’s a little sugar in there so you can get that sweet, sweet bubbly.
Booch With A Buzz
Alcoholic kombucha (or kom-brew-cha) is hitting stores around the world, and people are loving the alcoholic alternative that still retains some of kombucha’s digestive health benefits. While the majority of the kombucha sold today must have an ABV content under 2%, you can make kombucha with much higher alcohol content, upwards of 14%.
Alcohol, after all, is also a product of fermentation.
To produce more alcohol, you need more of three things: yeast, sugar, and time. The yeast will come in the form of beer brewers yeast, distillers yeast, champagne yeast, or wine yeast, all of which can be found in a brewing shop or online. You can also use the kombucha from the bottom of your batch as your starter liquid, as it naturally has a higher concentration of yeast.
Your second fermentation is where the magic will happen. It’s also where you’ll want to add more sugar, either by directly adding sugar, fruit juice, or fruit puree.
You’ll want a container with an airlock so the extra carbonation doesn’t put your containers at risk of an explosion. We like using latch-top bottles for the second fermentation, even if not brewing alcoholic kombucha, and actually have upcycled most of ours from liquor bottles purchased over the years.
Then simply leave your kombucha brewing for longer. Rather than the three to five days the second fermentation usually requires, alcoholic kombucha will require around two weeks in a warm place at least 60°F.
What To Do If Your 'Booch Goes Bad

Note that overripe/damaged fruit is great in kombucha (hello, extra sugar!), but moldy fruit is not. Avoid putting anything moldy in your kombucha. The mold might infect the SCOBY culture and mess up that batch and any future batches made with that SCOBY. If you see mold, throw the entire batch AWAY.
If mold happens or if you accidentally kill your SCOBY (like by exposing it to direct sunlight or too cold of temperatures), you definitely don’t want to reuse the SCOBY again.
Toss it in your compost pile or use it to make a fruit fly trap (if you remove the moldy bits). It’s even good as a hair tonic if the SCOBY isn’t too bad (and trust us, you’ll know if it’s bad because the SCOBY will turn black), but if you want supple instead of sticky, make sure that all of the sugar is fermented out of it first.
In fact, even if you don’t kill your SCOBY, you’ll quickly find yourself with too many pellicles (considering you get a new one every time you brew). If you find your SCOBY hotel (the jar you store your non-brewing SCOBY and pellicles in and we’re not kidding about that being the official term for it) getting a little crowded, bestow a “mother” to some friends so they can start brewing their own booch.

Heather earned a Bachelor of Science in Human Nutrition from the The Ohio State University before completing a Masters in Environment at The University of Melbourne. She then went on to achieve a Permaculture Design Certificate at the Djanbung Gardens. Heather feels best when she is barefoot in a forest or has dirt under her fingernails. She’s constantly daydreaming about her homesteading future and has a rapidly-growing list of the best local (and not-so-local) hiking trails. When she’s not busy hoarding an embarrassing number of upcycled glass jars, experimenting with urban composting, or quelling her eco-anxiety on a long run, Heather spends her 9-5 working for a sustainable agriculture nonprofit, where she advocates for state and federal policies that support thriving farmers and a habitable future.